Artwork Credit: Natasha Evans @Studio78
Tapgaze Creator Tutorials
Artists And Exhibitor Preparation:
File specifications and text narratives artists and exhibitors will need when setting up their account and creating their art portfolios in Tapgaze:
Logo
- You add your logo at the time you create your account
- File format: jpg or png
- Resolution: 1024×512
- Max File size: 1MB size
- Transparency: yes
AR Mobile App Header Background Color
During the AR experience, users can see a header at the top of the screen with your logo. You may want to think of the header background color that will show underneath your logo. Example header with logo below in white:
Description of Artist or Exhibitor
This is the description of you as the artist or exhibitor that you input when you create your account.
- Maximum 240 characters
Artwork Image
You can upload your artwork images with Tapgaze Creator
- Maximum artwork image size: 2MB each
- Format: jpg or png
- Width and height: Please make sure the width to height relationship of the image you save is the real life true scaled size you want for an AR experience. For example, if the painting in real life is 175cmx150m, you may want to save your image in pixels where width is 1.5x the height. This is important because Tapgaze Creator automatically calculates the height of your canvas art image and you can only enter the real size width of the canvas art image as an input.
Catalogue Information
Each catalogue represents a room in a gallery that holds several artwork for the artist or exhibitor, you may want to think of it as a theme.
You can add catalogue information in Tapgaze Creator.
- Each Catalogue Name: Max 20 characters
- Each Catalogue Description Max 240 characters
Take a read of the information you’ll need to create your account such as your logo image. The video below walks you over the straight forward process:
Tapgaze Creator enables the user create, edit and delete artwork in the user’s Catalogue.
The application currently runs on MacOS.
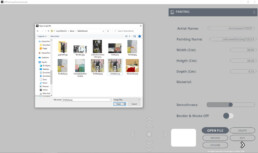
To create a new artwork item, Tap Open to select the image. The currently available file formats are png, jpg, jpeg.
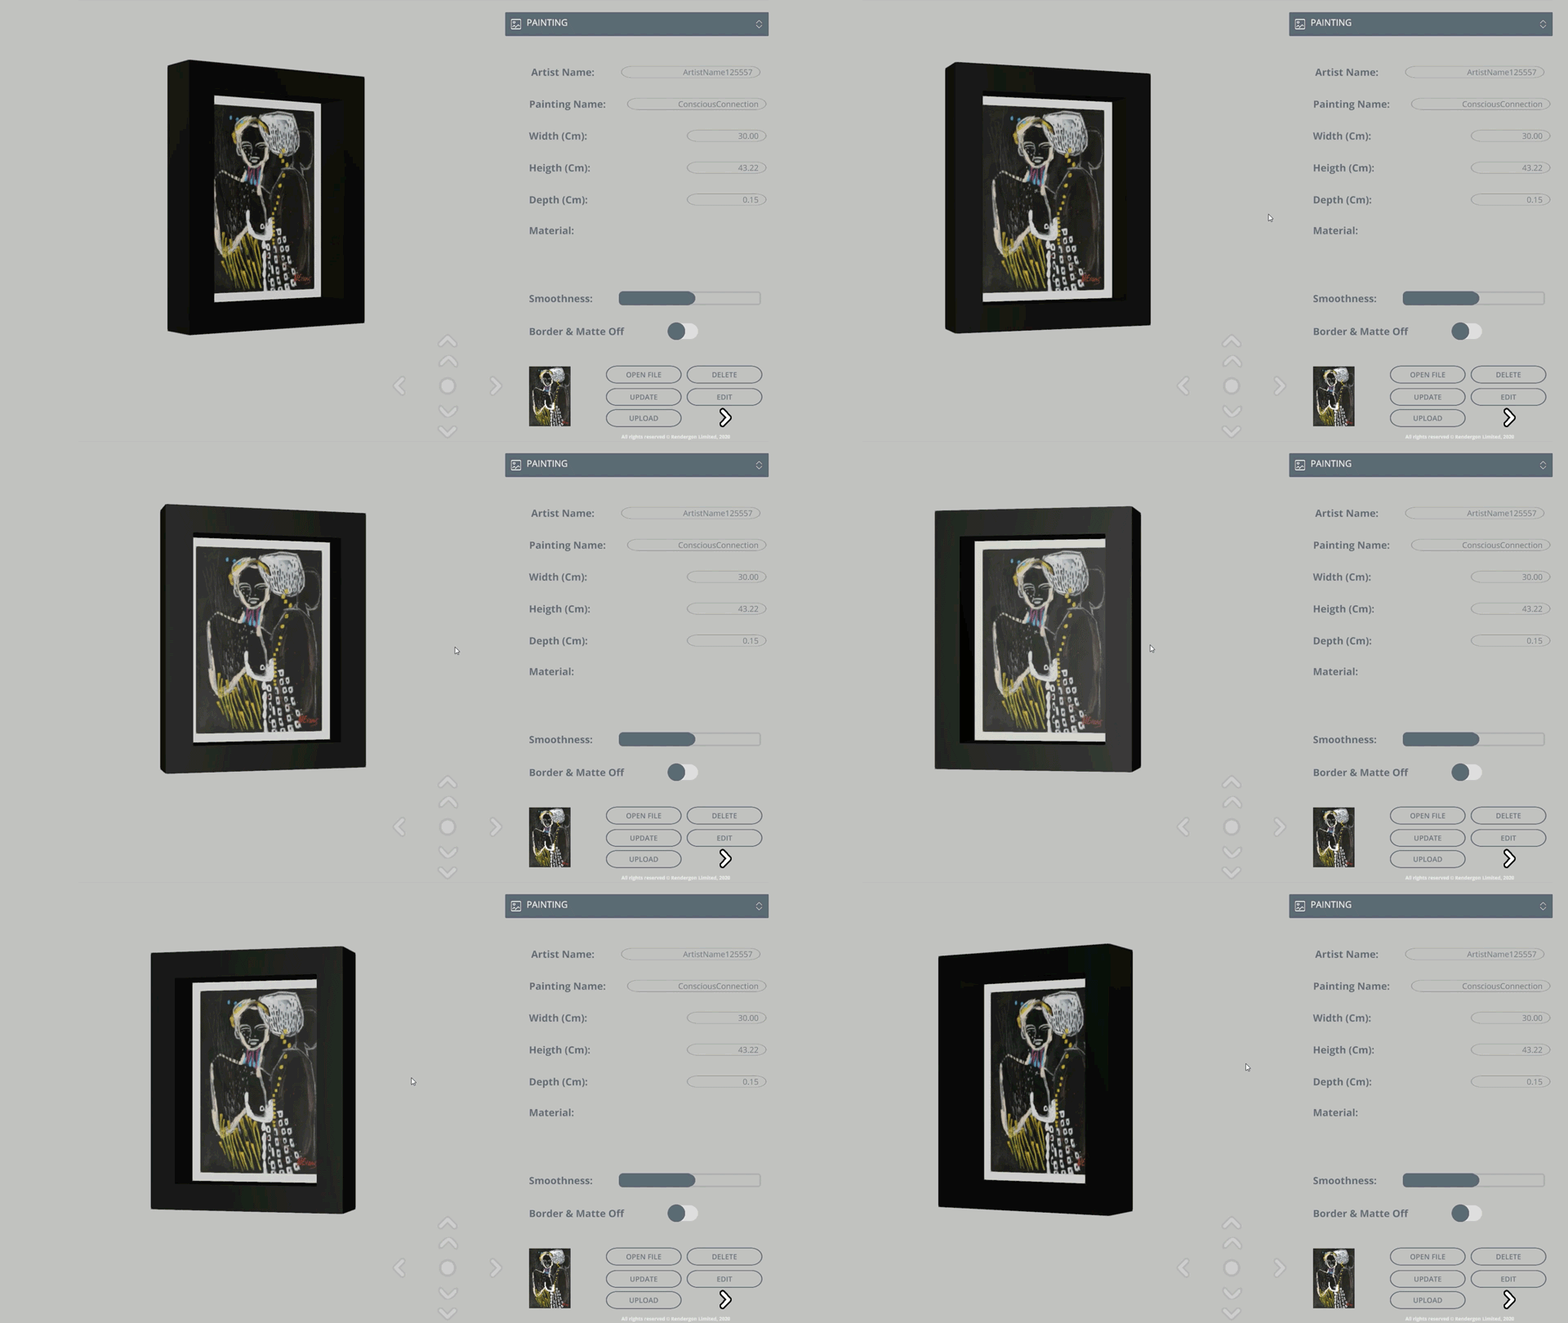
The 3D model of the artwork constantly rotates to visualize it to the different anges. Tap on the 3D model to pause or restart its rotation.
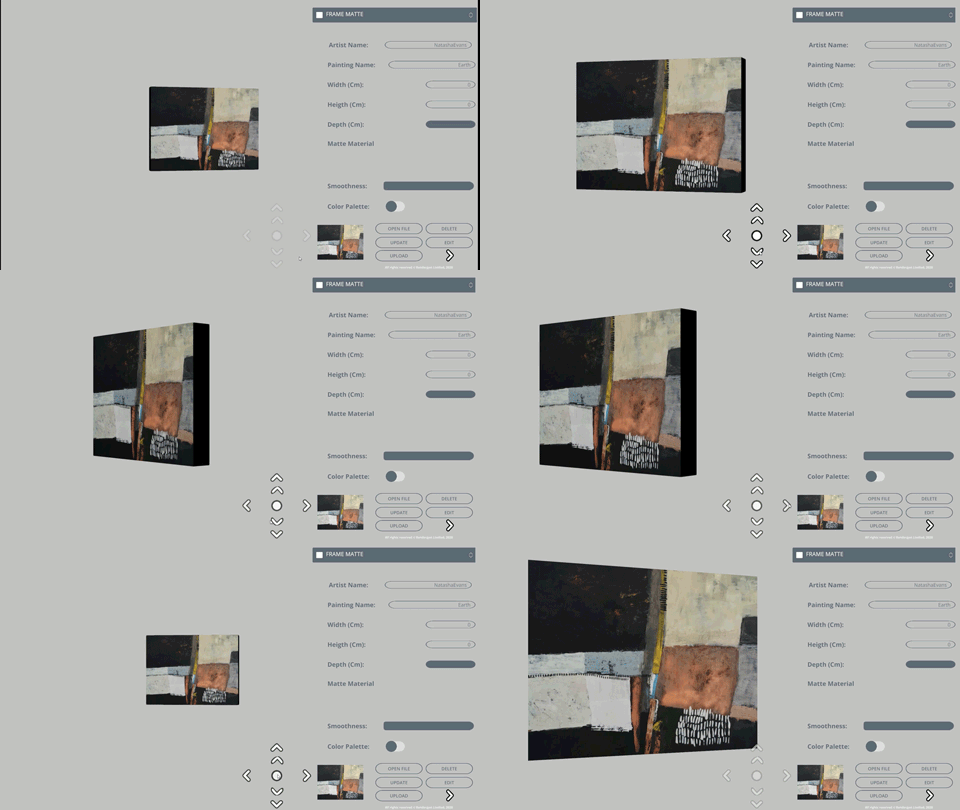
Use move controls to inspect 3D artwork.
Use the Update Button to inspect your changes.
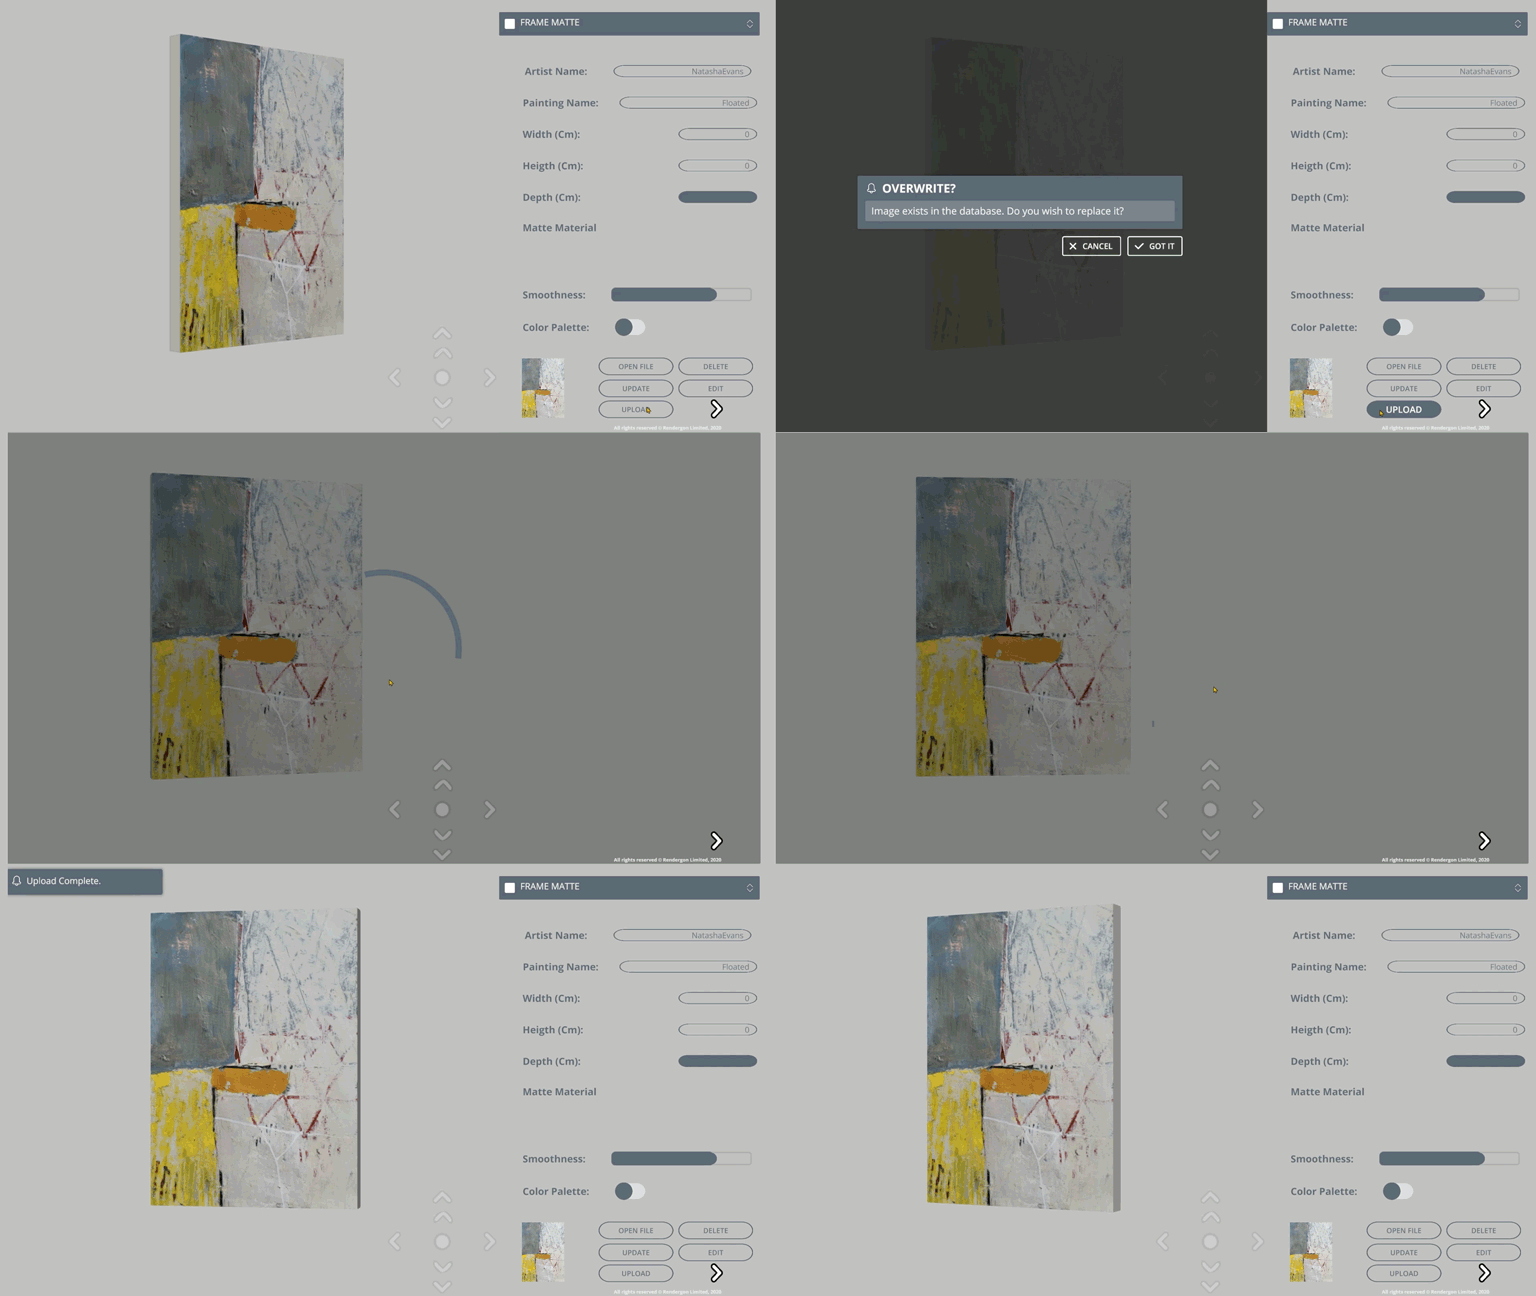
Use the Upload Button to upload the painting image and 3D model attributes to your Catalogue.
Note: If an artwork has the same artist and painting name as the one you’re asking to upload, you will be asked to replace the exising artwork in the Catalogue.
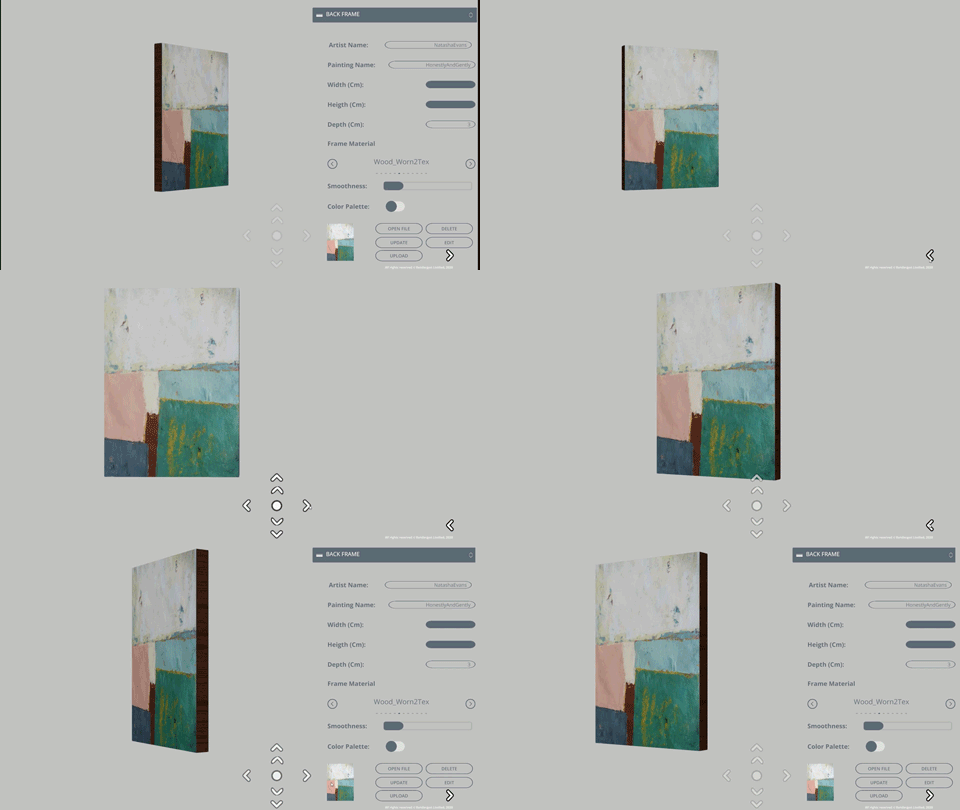
Tap on the Retract Button to clear the screen.
Tap on Edit to browse through the Catalogue and select an artwork.
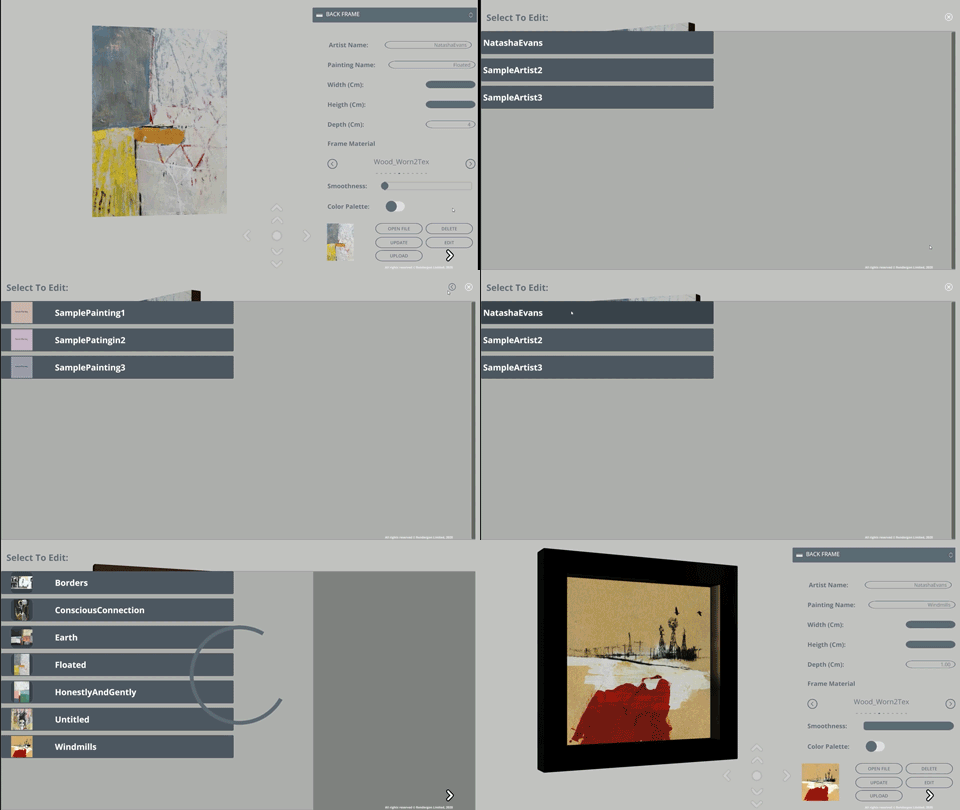
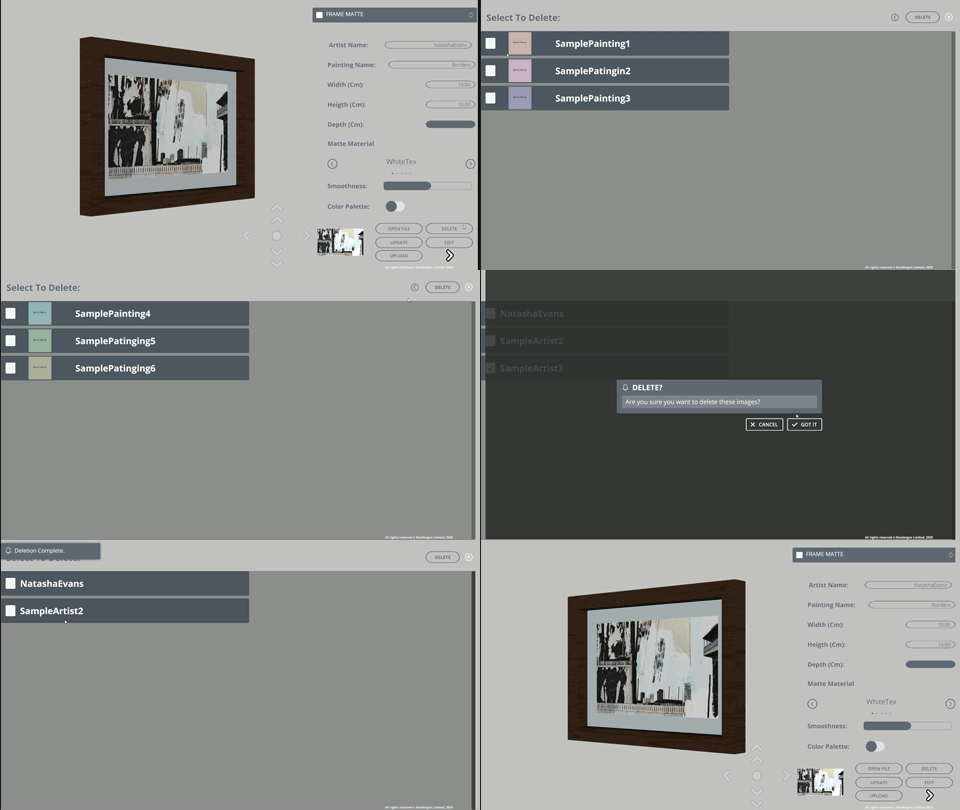
Tap Delete to delete artists or specific artwork.
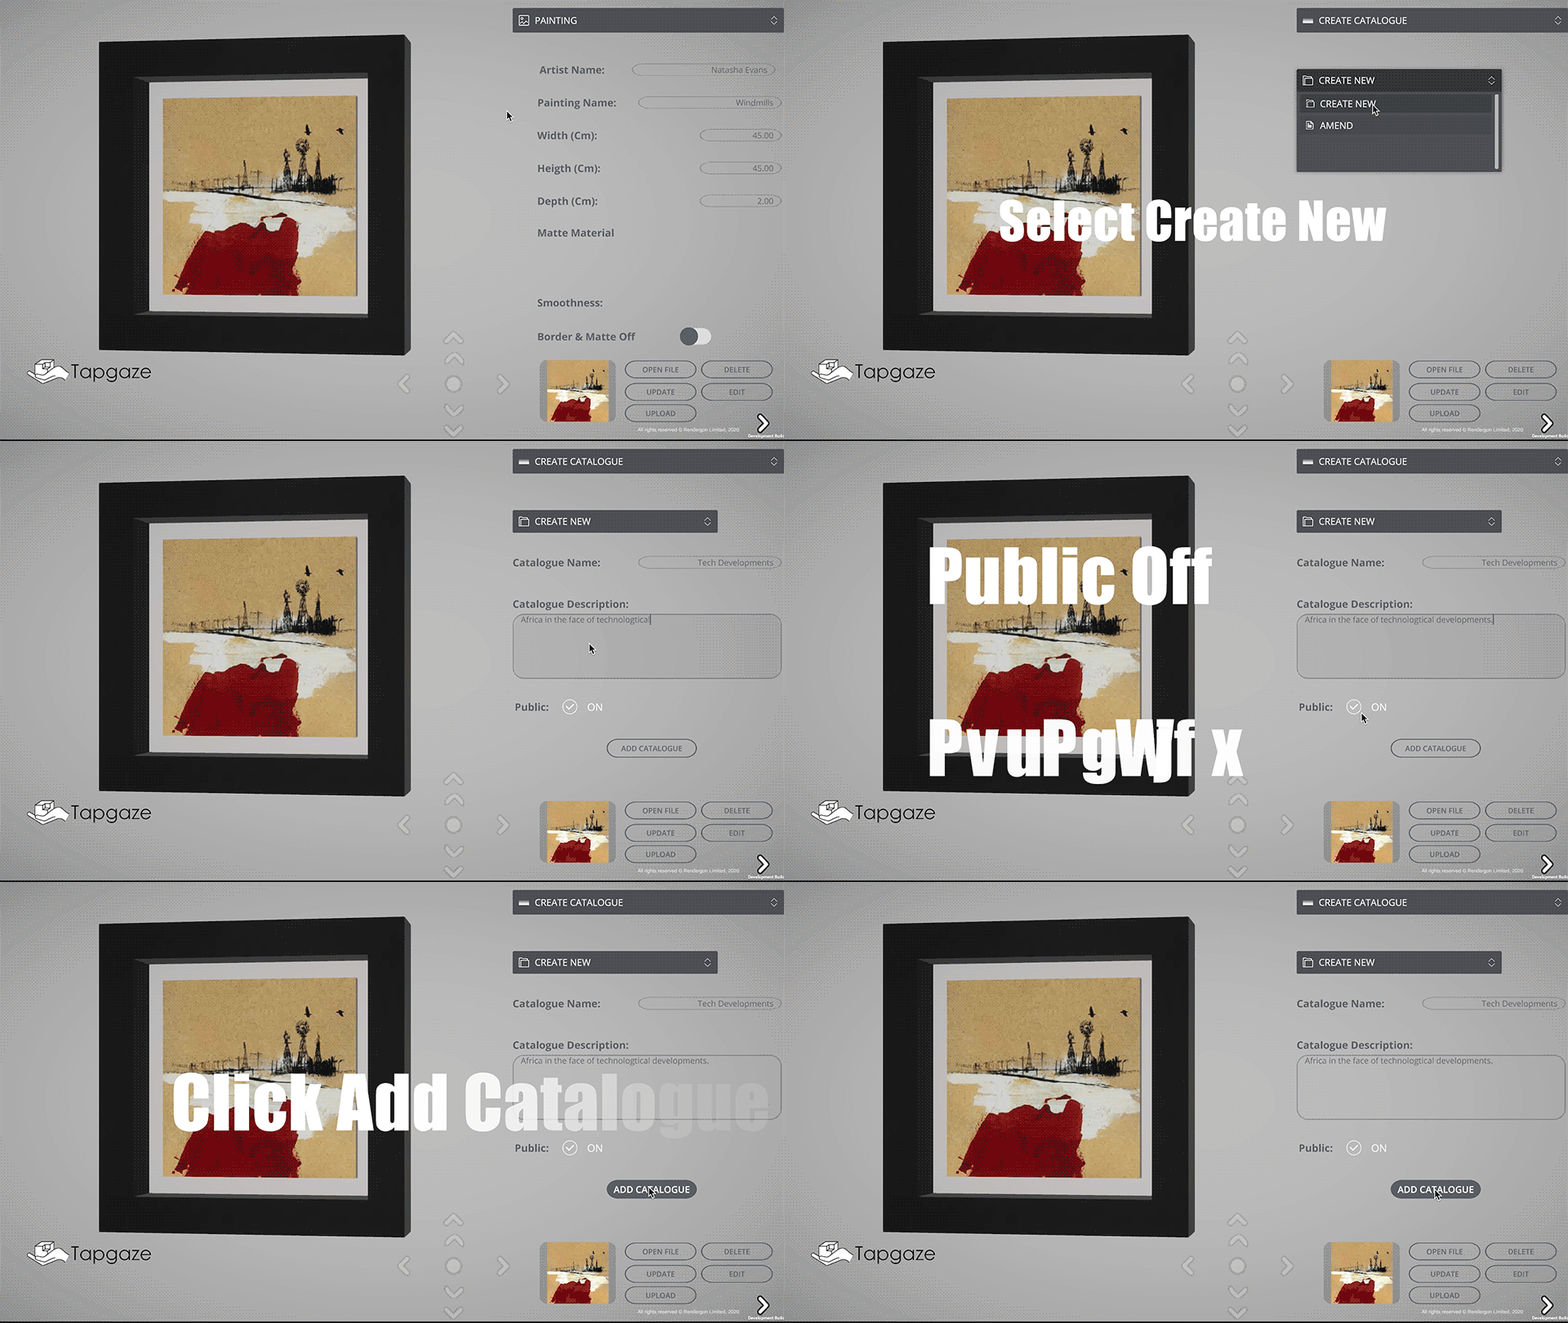
Add a New Catalogue to your catalogue collection and add its description.
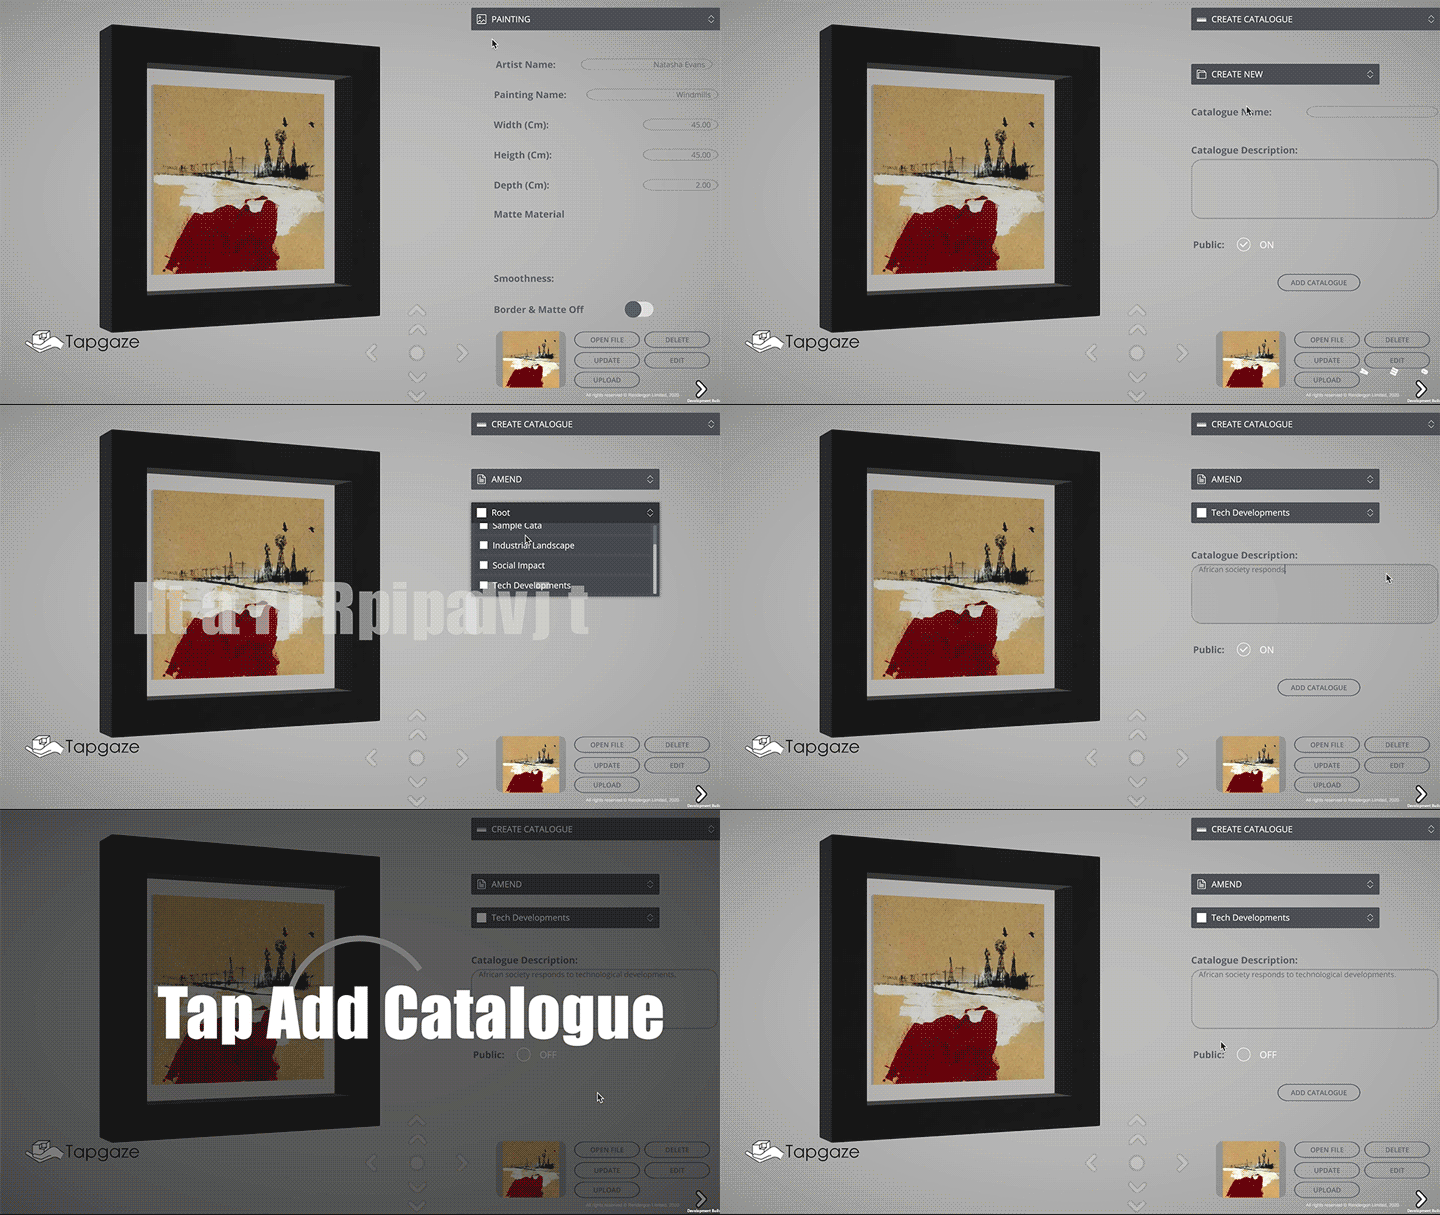
Amend existing Catalogues:
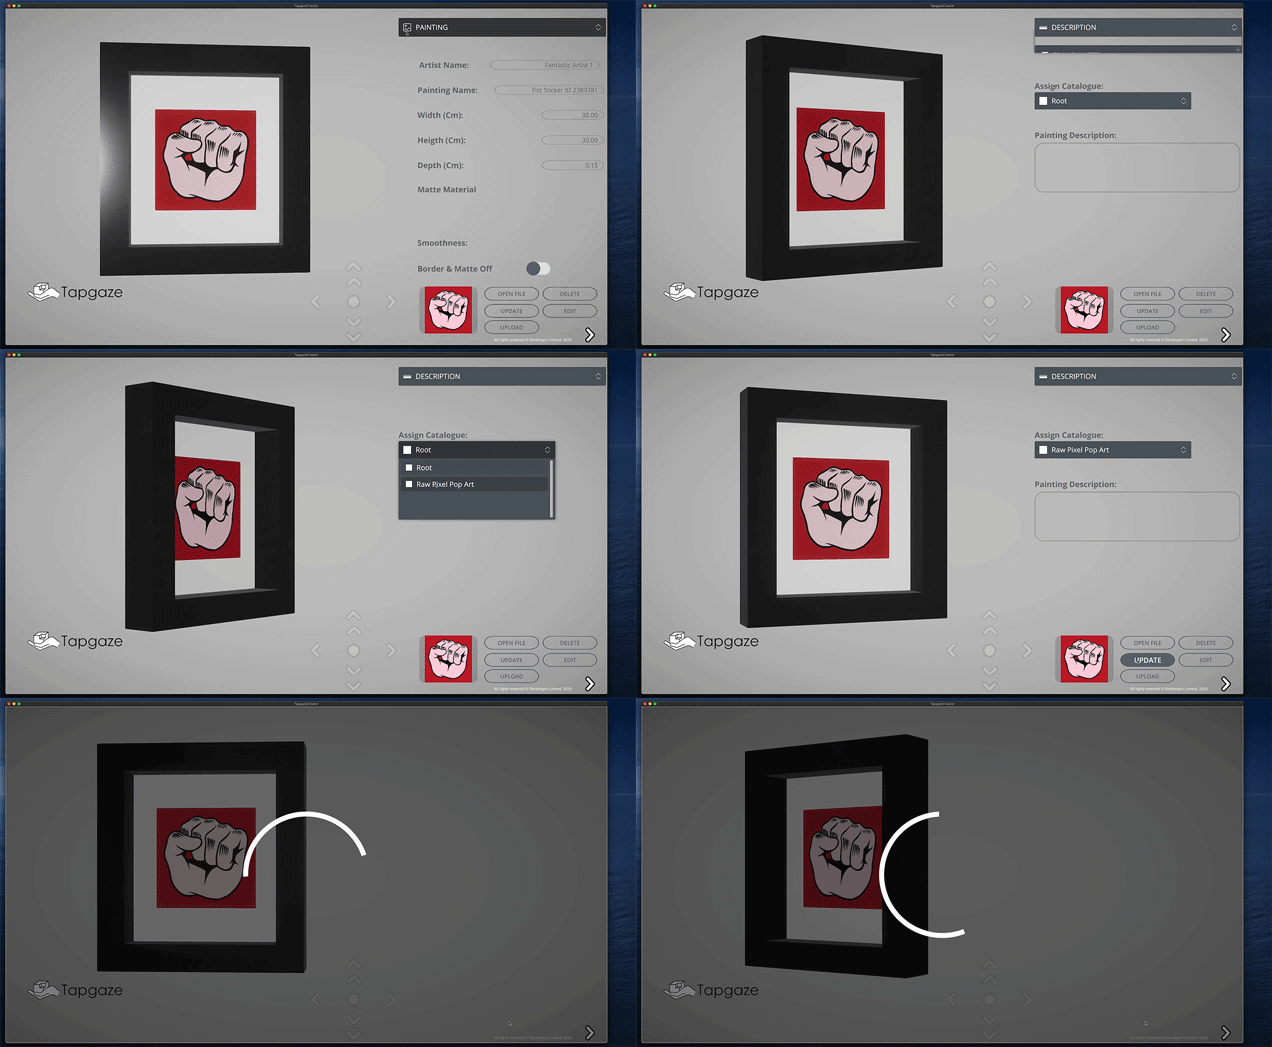
Assign Catalogue to a Painting, don’t forget to Upload !
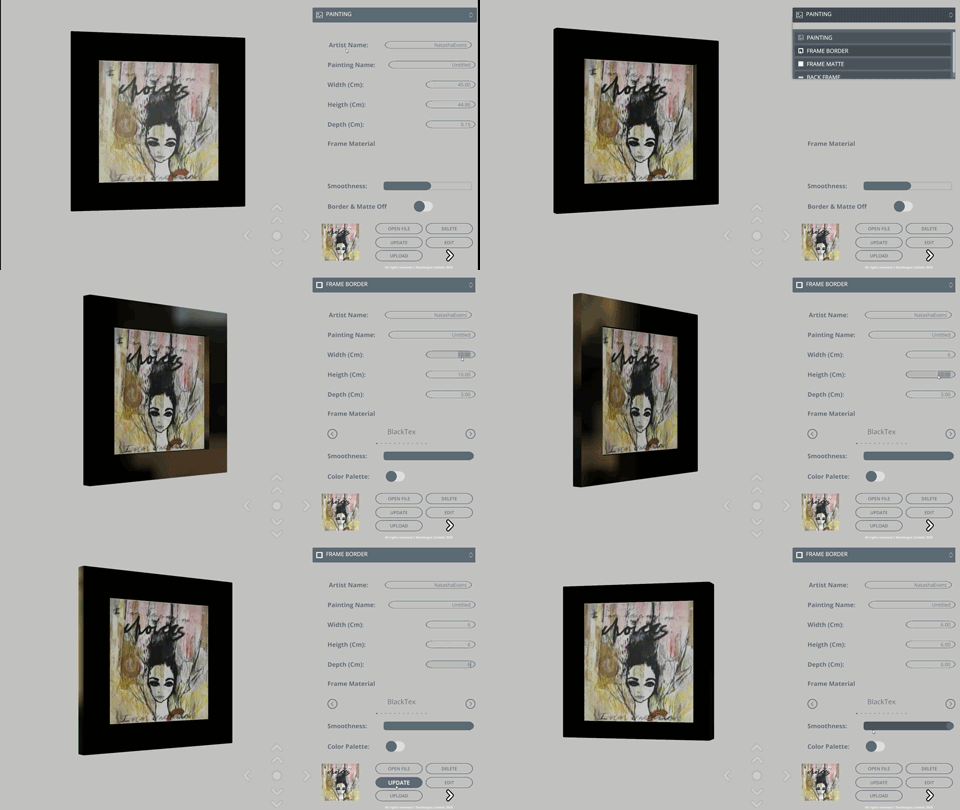
Artwork Smoothness Value: Select the Frame component you wish you adjust at the top (Painting, Frame Border or Frame Matte) and adjust the slider to set its smoothness value.
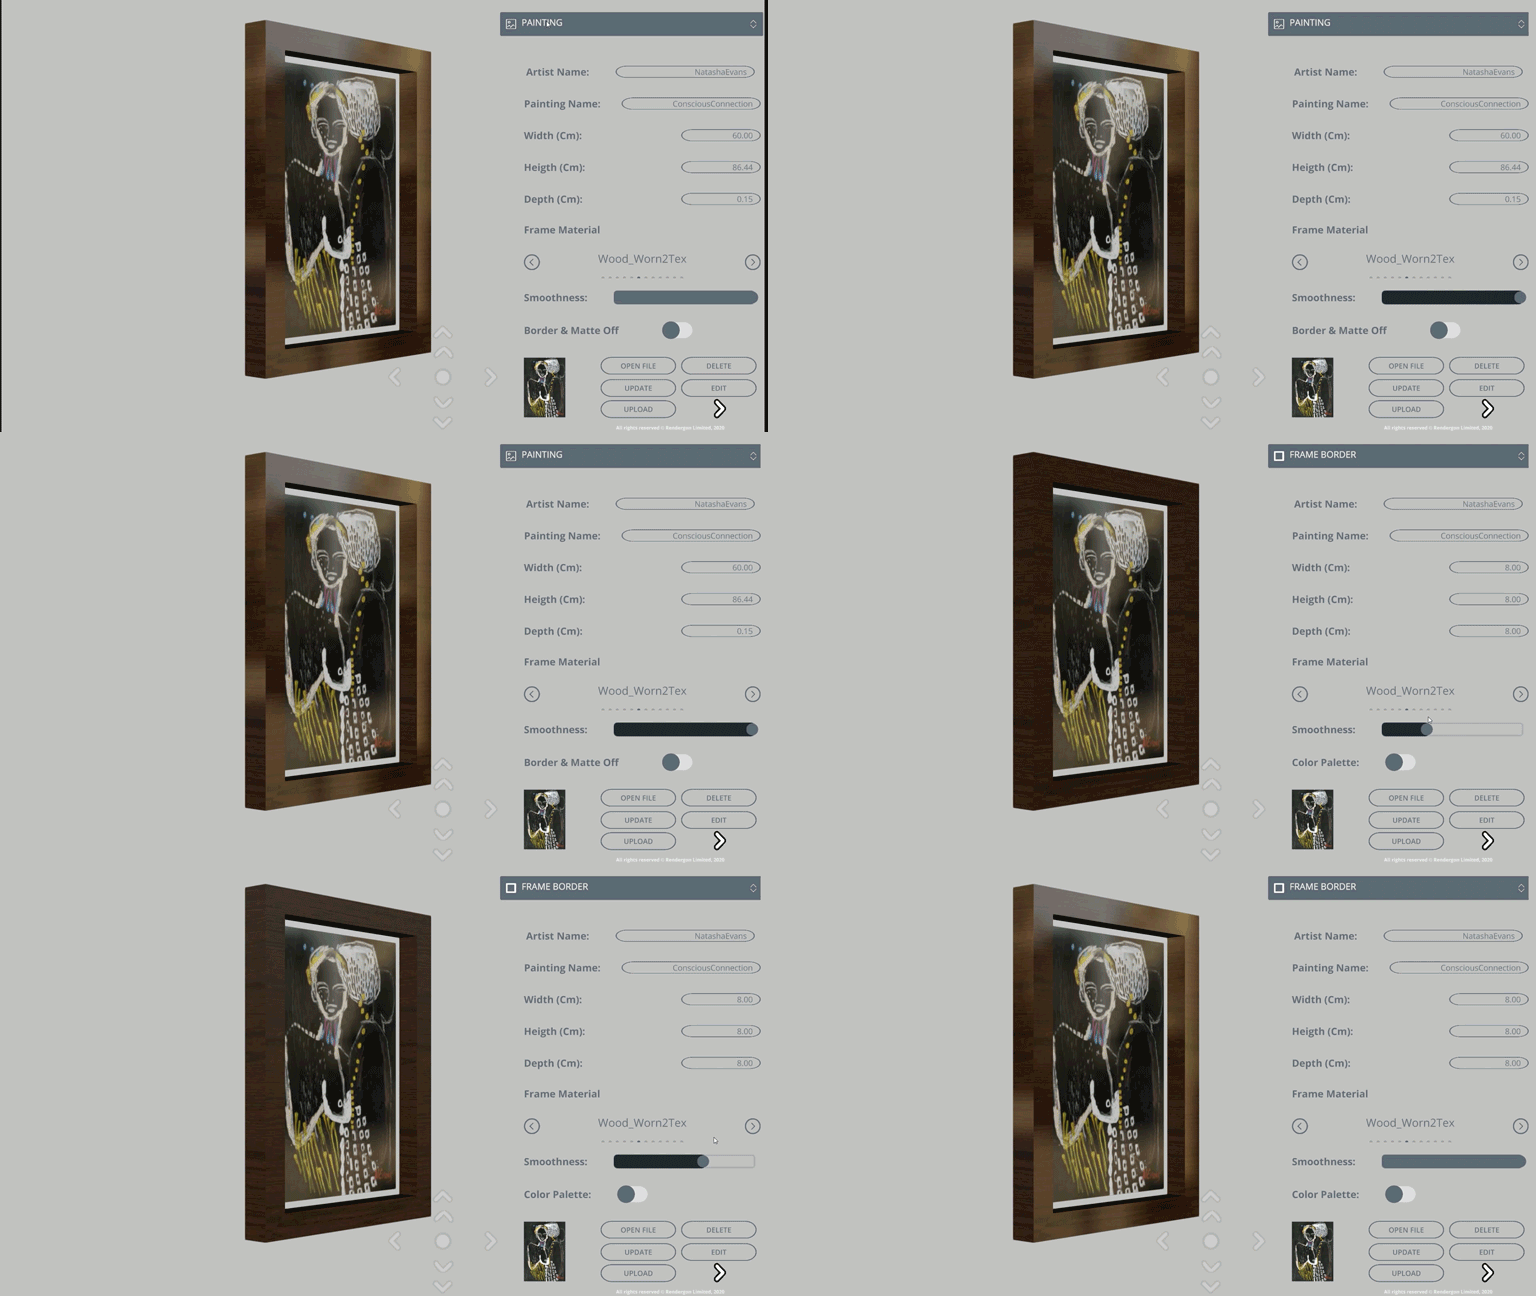
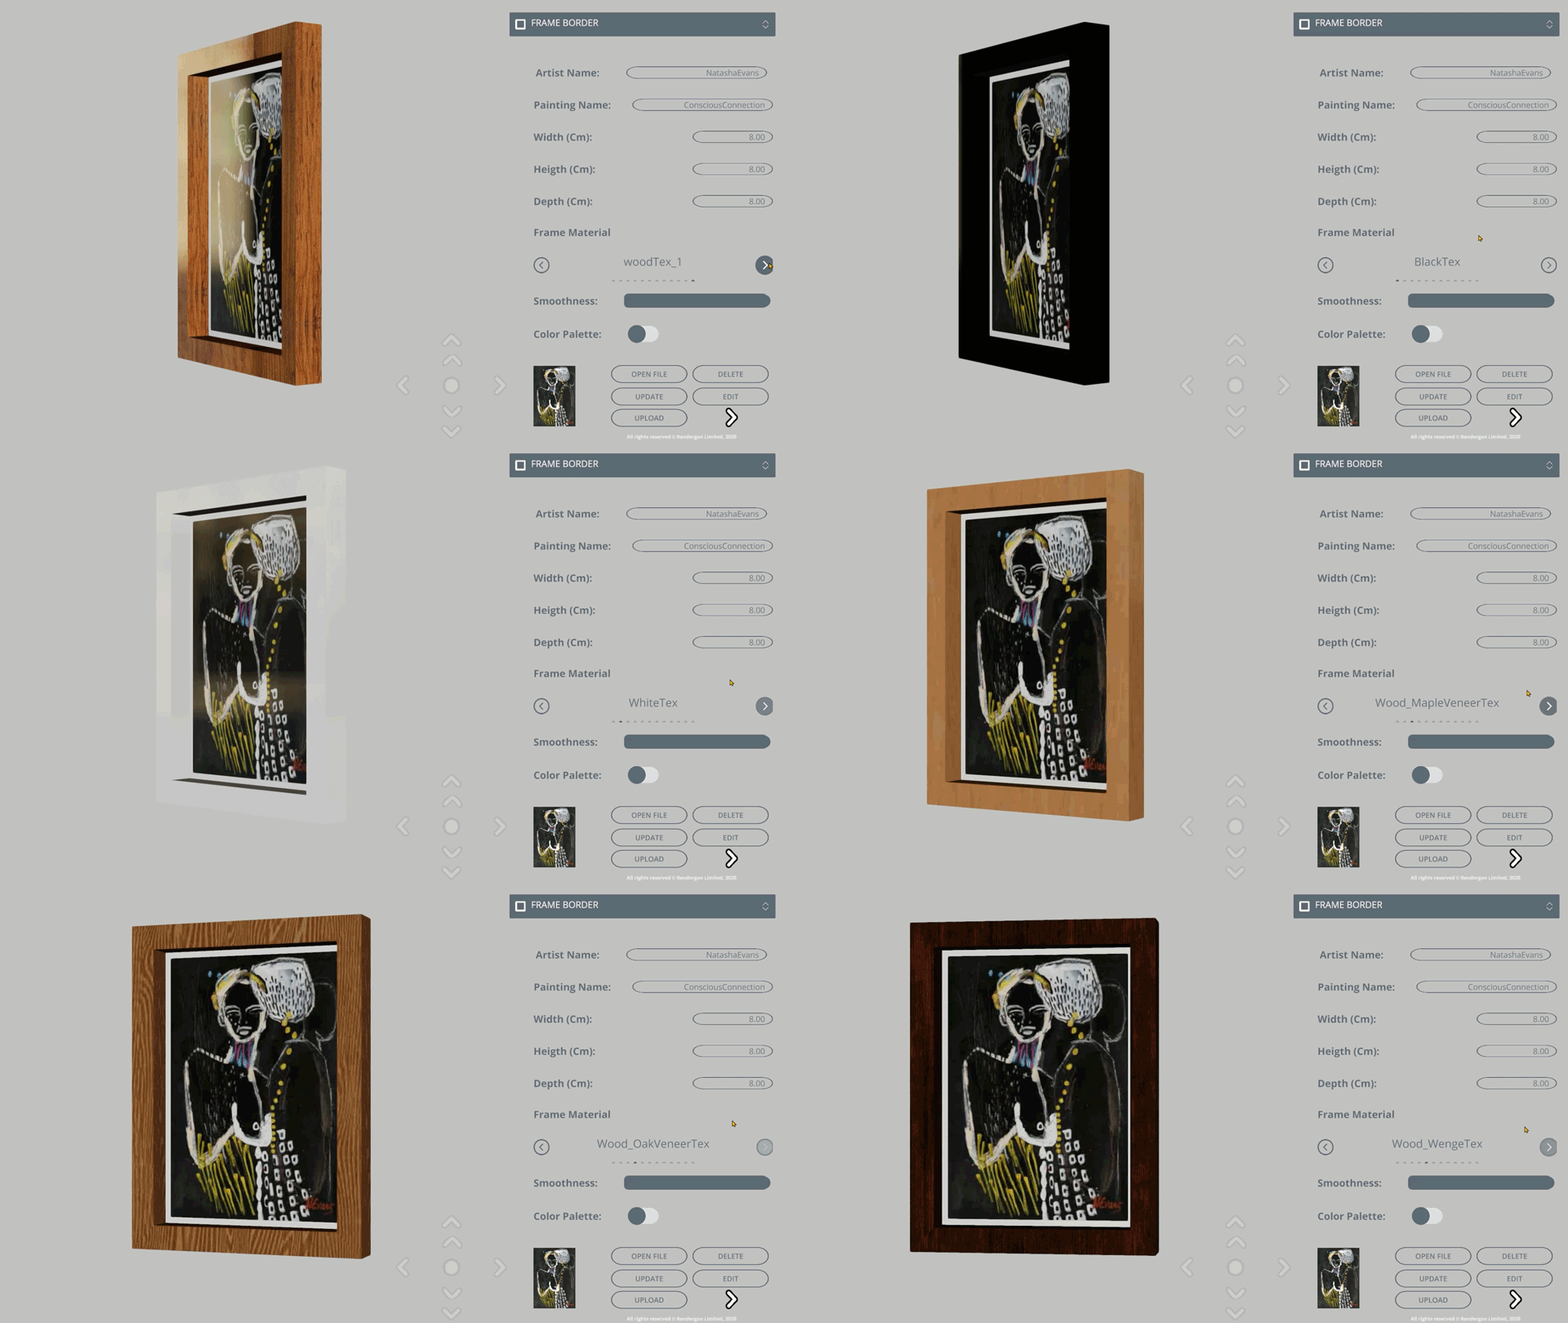
Change Frame Border or Matte Texture: Select the Frame component you wish to change at the top (Frame Border or Frame Matte) and scroll back and forth to select the texture.
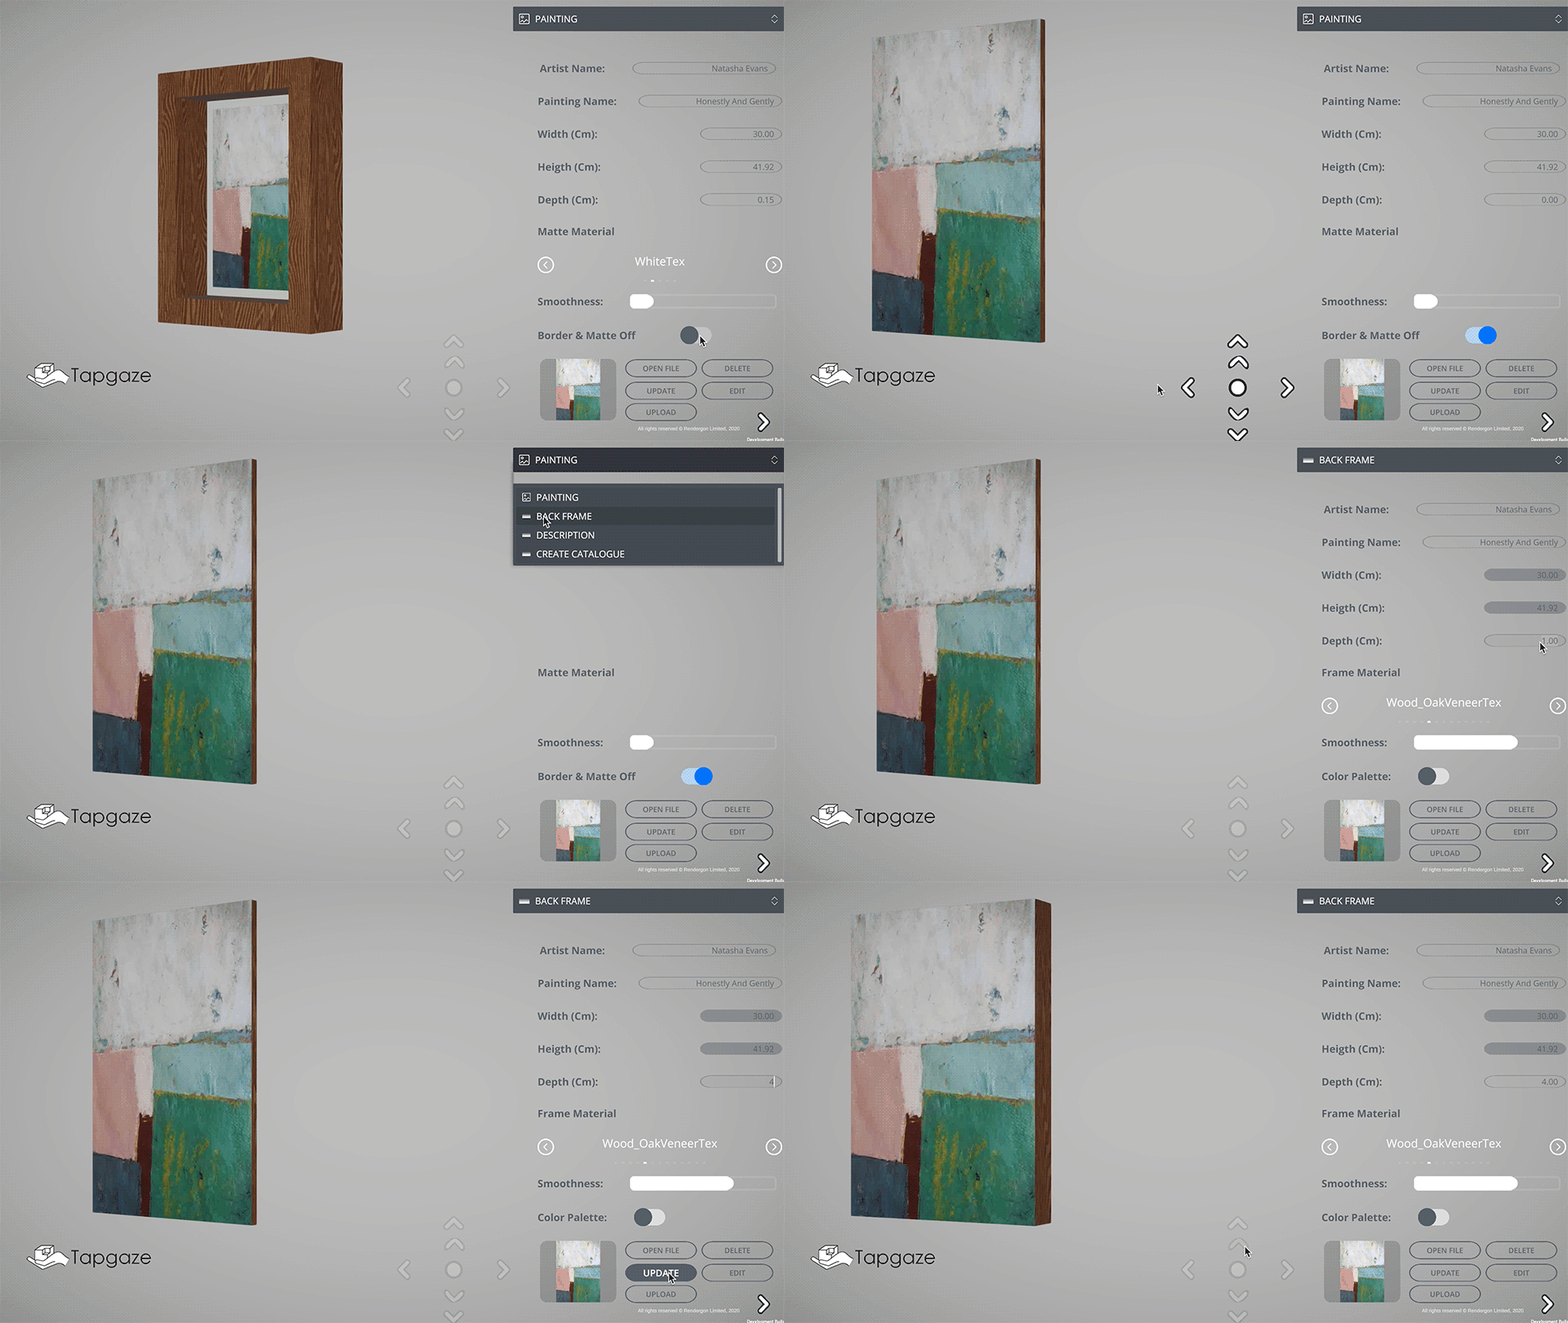
Frameless Artwork: Select “Painting” at the top and swtich Border & Matte Off followed by Update to create a frameless artwork.
You can increase the thickness of the painting by selecting “Backframe” at the top and increasing its size.
To remove frameless features, switch Border & Matte Off again and set your preferred border and matte values.
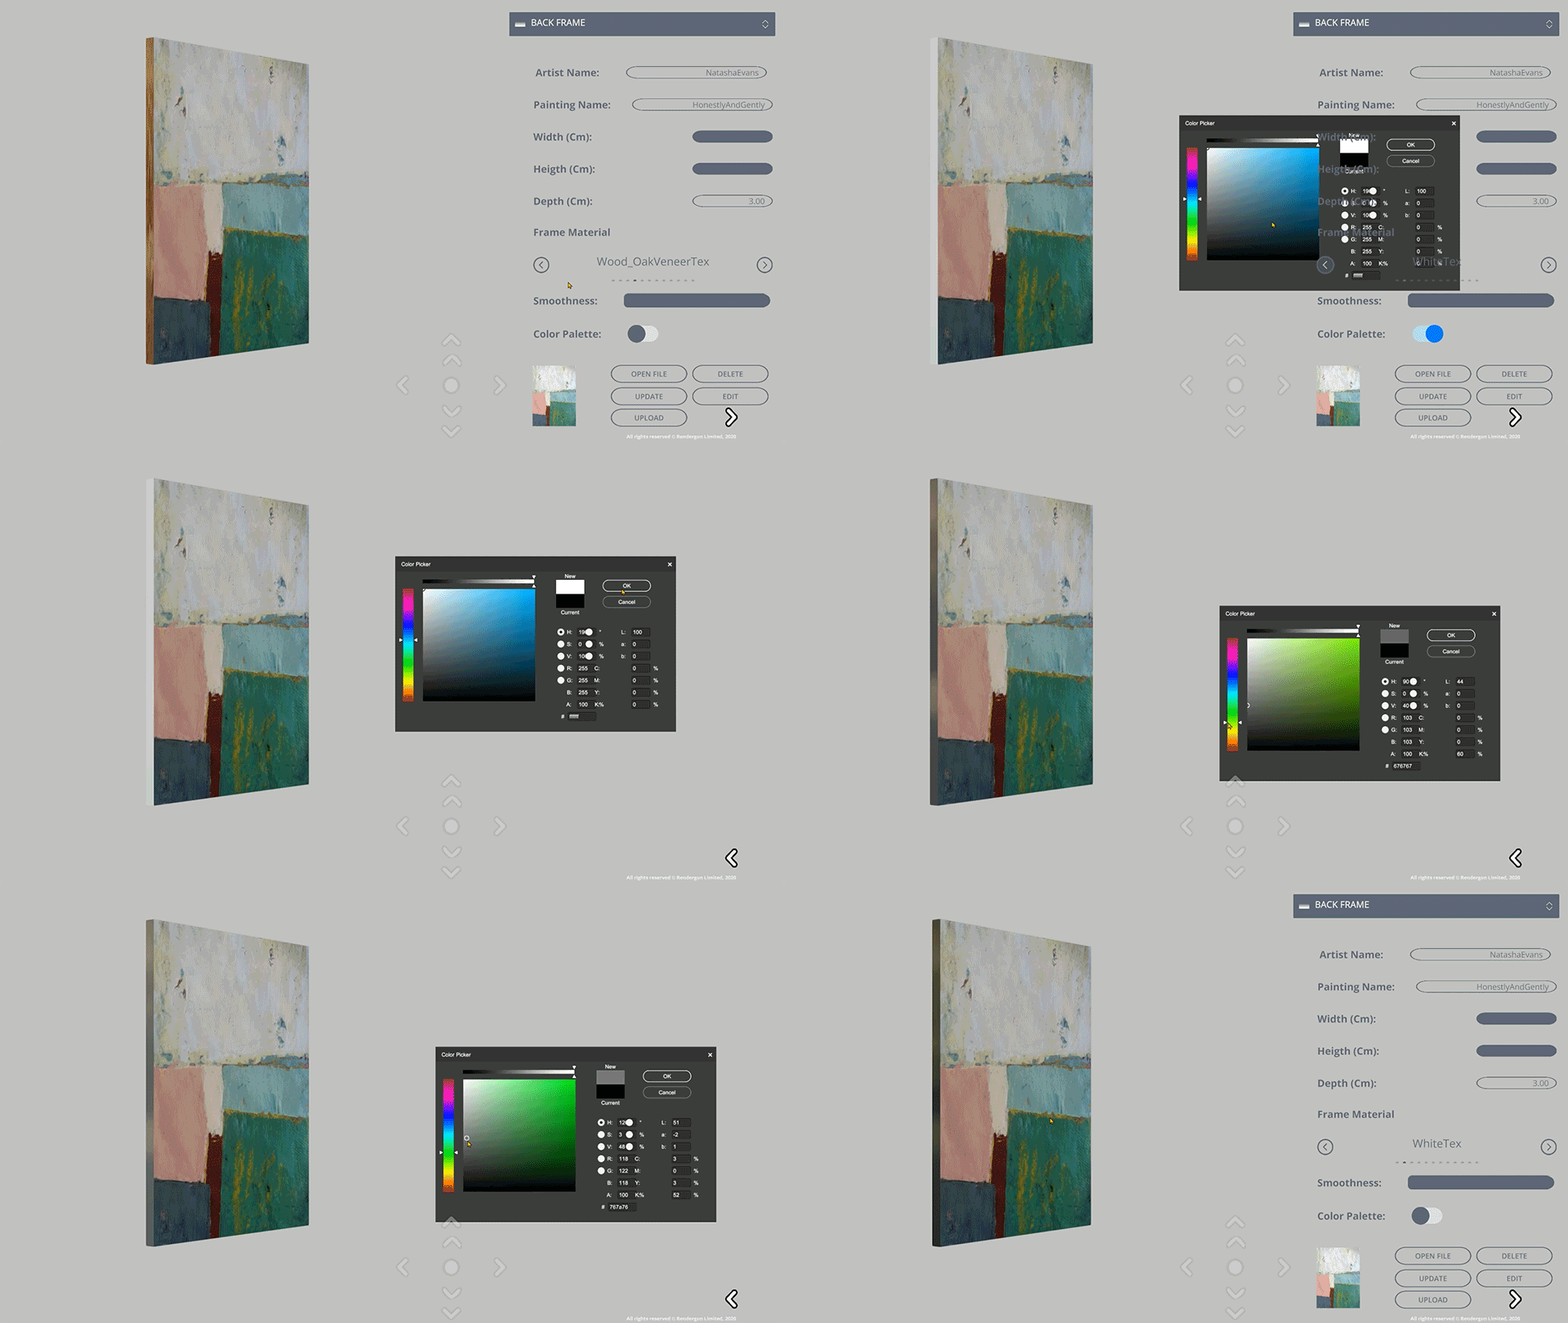
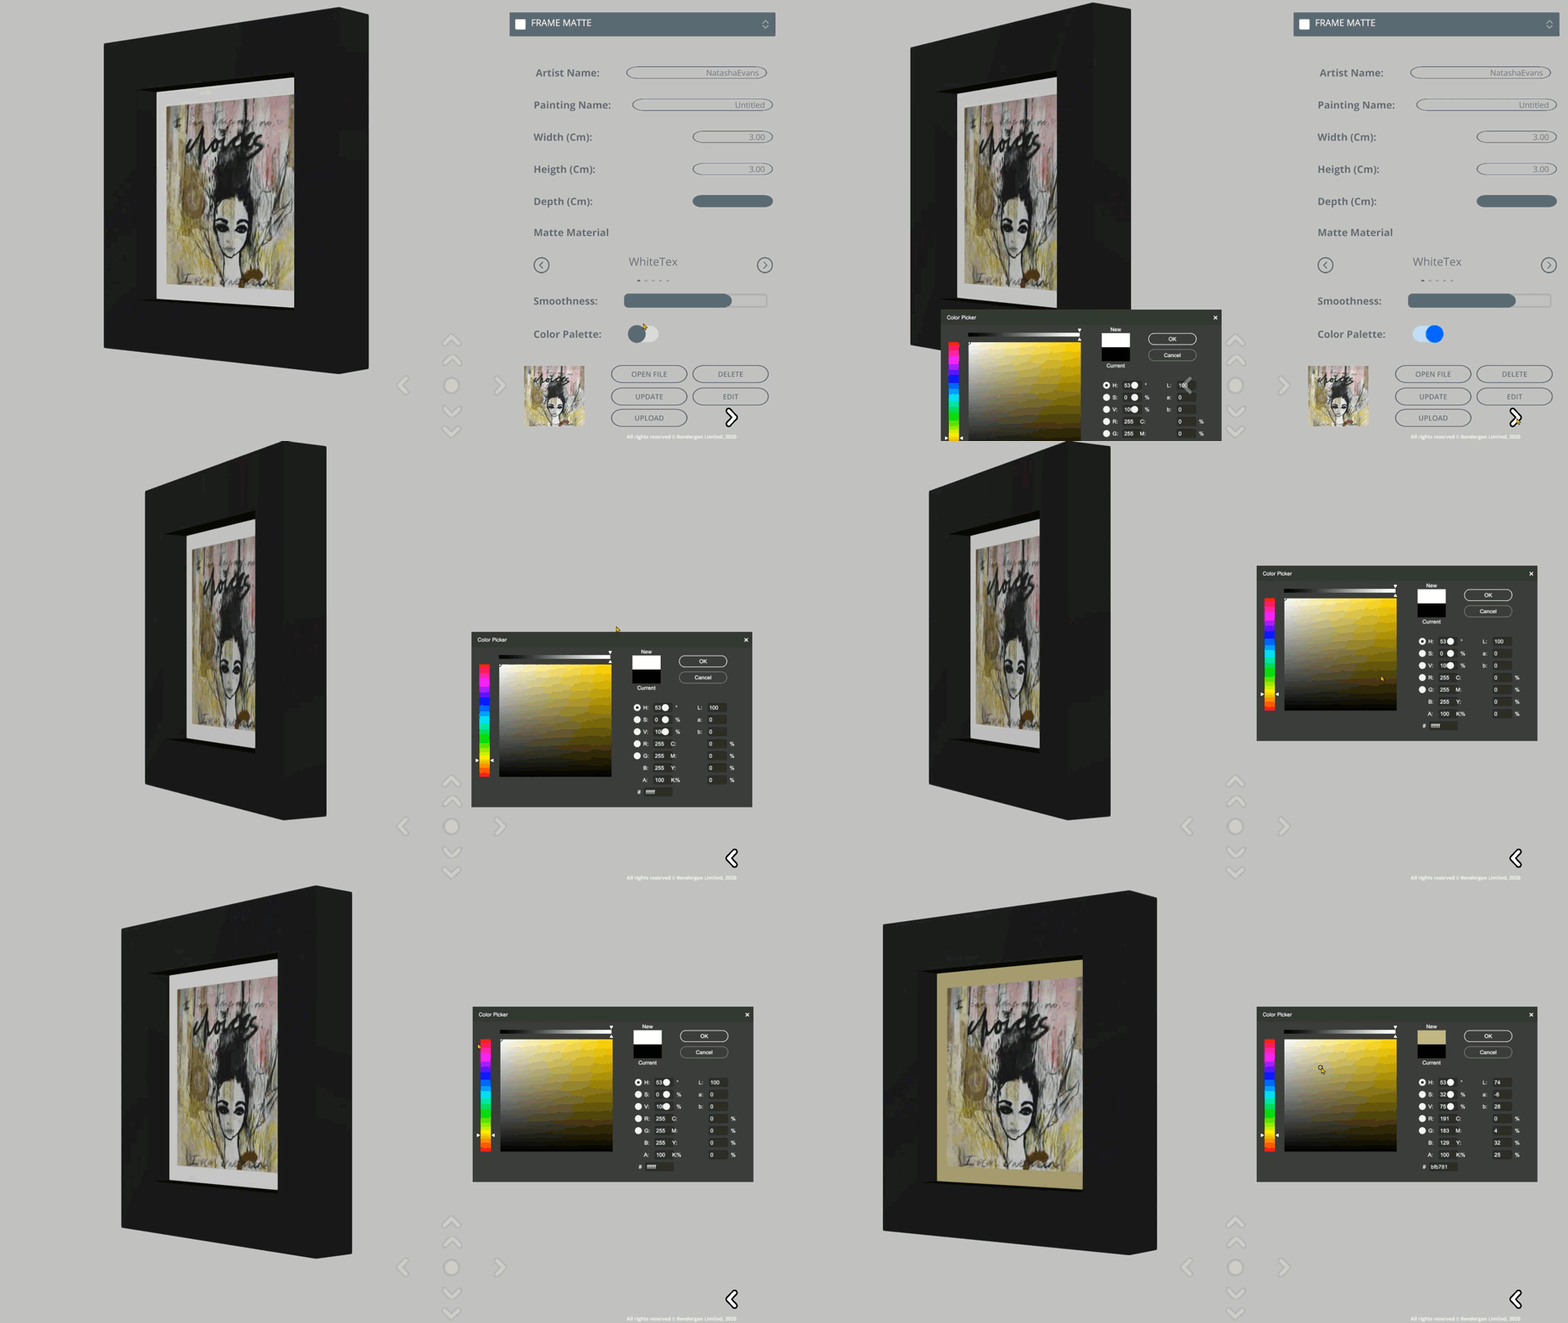
Texture Color: Select Painting, Frame Border or Matte Border at the top, followed by switching the Color Palette access.
Note: Select WhiteTex as the Border or Matte texture to render the natural color selected on Color Palette.
Frameless Backframe Texture Color: Select Backframe, followed by switching the Color Palette. Then select WhiteTex as BackFrame texture to render the natural color selected on Color Palette.
